|
This tutorial is written in psp 9, but also
working in other psp versions
ATTENTION: Are you using another version of
PSP, it can be that some things are in another
place
I hope this tutorial is written understandable
I’m working with a Dutch version of PSP, so I had
to translate the tutorial in similar words
It is possible that some things are written
different in the English version of PSP
Materials
Download the Tube, Mask, Brush and picture
HERE
Unfortunally i do not know to whom
the brush and mask belongs to. Please mail me if
you know
The tube is made by MarieL
Click on the banner to go to her website
Of course you may use a tube u like yourself
Before we start
Before we start or open PSP put your Brush in your map of brushes in PSP
Put your Mask in the map of Masks in your PSP
Now you can run PSP
Open your tube and the newspaper picture in PSP
Choose a light color as your foreground and a dark
color as your background
The colors I chose:
Foreground #99abc7
Background #5e6a7c
Step 1
Open a new image with the measures of 700x500
pixels
Fill it with your foreground color
Step 2
Layers > New raster layer
Fill it with your background color
Layers > Mask load/save > Load mask from disc
Look for krant001 and apply
Go to Layers > Merge > Merge group
Go to Effects > Edge > Enhance
Step 3
Copy the tube and paste as new layer
Move it to the left bottom untill it fits nice on
the bottom line
Effects > 3d Effects > Drop shadow
Vertical: 10, Horizontal: 10, Opacity: 50, Blur: 5
, Color: Black
Duplicate this layer and put the modus of this
layer on “Soft Light” in your layer pallette
Image > Mirror
Step 4
Go to your bottom layer and lock all the others
Selections > Select all
Layers > New raster layer
Copy krant1 and paste into selection
Put the modus of this layer on “Luminance (old)”
in your layer palette
Now you can unlock all layers again
Step 5
Go to the layer above.
The click on Layers > New raster layer
Click on your Brush Tool and look for the brush >
LyricsSet2.6
Click 3 times with your dark color, now the text
is better to read!
Effects > 3d Effects > Drop shadow > 1, 1, 10, 0,
Color: black
Repeat this drop shadow 2 more times
Step 6
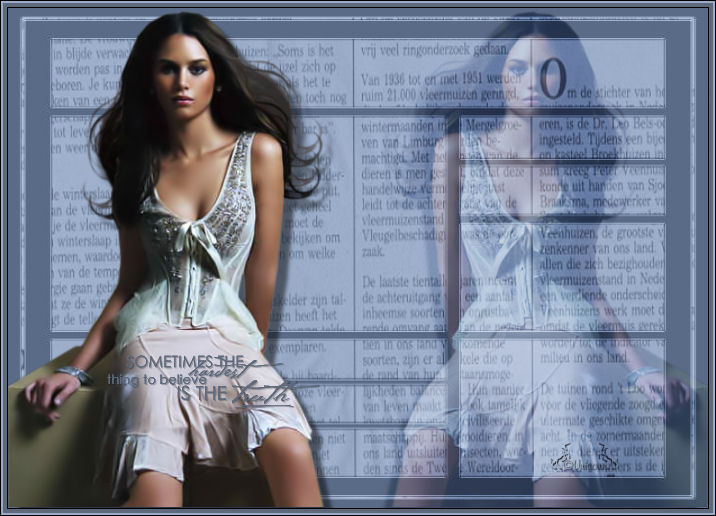
Put your name on the tag on a new raster layer
Image > Add borders > 1 pixel black
Add borders 4 pixels your dark color
Add borders 2 pixels your light color
Add borders 1 pixel black.
Save as JPG-file.
I hope you had fun making this tutorial! It’s
written 100% by me, and if similar tutorials exist
it’s pure coincidental! Please make sure read my
TOU. I do not give permission to copy my tutorials
and put it into Word Documents. My tutorials may
NOT be shared in any way, the materials must stay
at all times intact and may not be shared. I can
do that myself, and the people from who I’ve got
my permission can do that as well.
If you want to link to any of my tutorials, please
email me for my permission. HERE you will find
Groups, clubs and forums who have my permission.
NOTE: When you are
linking/copying/hotlinking anything from this
site, you’ll come on the black list and on the
website of copycats for everyone to see
xxx
Unicorn
24-06-2007
Website & Design by
©L-Dezine |